Microsoft Flow automates repetitive tasks, allowing you to devote more of your time to important matters. It does this by linking different cloud-based apps, collecting data from them, synchronizing files, sending you notifications, and much more. In Microsoft Flow, automated workflows are simply referred to as “flows.” Currently, Microsoft Flow allows you to link apps and services like Office 365, Dynamics 365, PowerApps, Dropbox, Facebook, OneDrive for Business, Twitter, SQL Server, and many others.
Simply put, Microsoft Flow operates on the principle of triggers that initiate responses, allowing apps to essentially talk to each other. When something notable happens—like you receive an important email—the corresponding app broadcasts a signal, notifying other apps that one of its particular functionalities was triggered. These apps can then respond accordingly.
For example, suppose your clients are tweeting feedback about your brand using a particular hashtag. You’re interested in tracking this data for future sentiment analysis but don’t want to hire someone to do this for you, as that would take lots of time and money. With Microsoft Flow, you can create an automated workflow that will store a copy of each tweet with that hashtag in your database every time a client tweets.
Apart from using Microsoft Flow to improve your productivity by automating routine activities, you can also use advanced integration tools such as Logic Apps to create API connectors and gateways for custom solutions. Once you set up a flow, you can use the Microsoft Flow Admin Center to manage the flow from a desktop or mobile device. As an admin, you can also manage users, permissions, roles, etc
Getting Started with Microsoft Flow
Microsoft Flow provides a number of templates that you can use right away to create a workflow for data collection, notifications, social media, productivity, mobile devices, and so on. If you can’t find a template that suits a particular task, you can create one of your own.
To start, you need to first sign up with Microsoft Flow, subscribe to Microsoft Office 365, install a web browser like Chrome or Safari, and have an email address on hand. If you don’t have a Microsoft account yet, you’ll have to create one using your existing email address.
Logging in to Microsoft Flow
If this is your first time using an online Microsoft product, you’ll have to sign up for Microsoft Flow at flow.microsoft.com. You can sign up for free here by entering your email address. If you already use online Microsoft products, simply sign in using the same email address you use for those other products. Once you sign up, you can start using the free Microsoft Flow plan. If you want to use additional features that come with paid Microsoft Flow versions, you can opt for Microsoft Flow Plan 1 or Plan 2. If your organization is already subscribed to Office 365 or Dynamics 365, you’ll automatically gain access to these paid Microsoft Flow features.
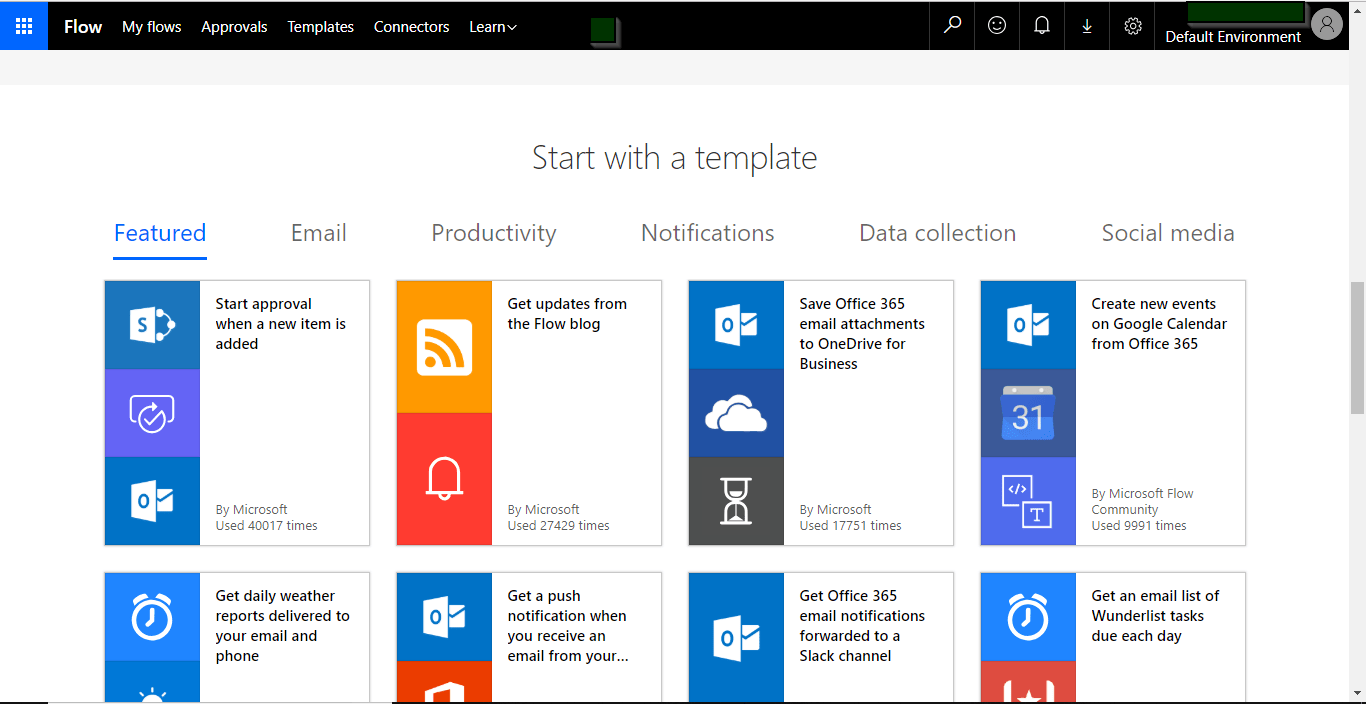
Creating a flow using a template
Once you log in, you’ll be greeted with a start page that shows a list of featured Microsoft Flow templates. Here, you can choose to create a new flow using any of these templates. You can select any template you want. For this tutorial, we’ll use the Get updates from the Flow Blog template. Selecting a template takes you to the next page, where Microsoft Flow will connect the RSS feed of the selected app to send a push notification to your mobile device every time something notable happens (in this case, every time a new Microsoft Flow blog is posted). Both the RSS and notifications will be logged in with your Microsoft account. You now simply need to click on the Create Flow button to create this flow.